5 Tips for Winter Seed Starting Indoors
Starting seeds indoors during winter can truly elevate your gardening game, giving you a head start while the world outside is still in a deep slumber.
This guide presents five essential tips for successful winter seed starting. From selecting the perfect seeds to creating the ideal environment for your seedlings, you’ll discover common pitfalls to avoid and strategies for transitioning your plants outdoors.
Prepare to nurture your green thumb and embark on your gardening journey!
Contents
- Key Takeaways:
- 1. Start with the Right Seeds
- 2. Prepare Your Containers and Soil
- 3. Provide Adequate Light and Temperature
- 4. Water and Fertilize Properly
- 5. Harden Off Your Seedlings Before Transplanting
- When Is the Best Time to Start Seeds Indoors?
- What Are the Benefits of Starting Seeds Indoors in Winter?
- What Are the Common Mistakes to Avoid When Starting Seeds Indoors?
- What Are the Different Methods for Starting Seeds Indoors?
- How Can One Create an Ideal Environment for Seed Starting Indoors?
- What Are Some Tips for Transplanting Seedlings from Indoors to Outdoors?
- Frequently Asked Questions
- What Are the Benefits of Starting Seeds Indoors During the Winter?
- What Supplies Do I Need for Winter Seed Starting Indoors?
- When Is the Best Time to Start Seeds Indoors During the Winter?
- How Often Should I Water My Seeds When Starting Them Indoors During the Winter?
- Do I Need to Fertilize My Seedlings When Starting Them Indoors During the Winter?
- What Is the Best Place in My Home to Start Seeds Indoors During the Winter?
Key Takeaways:
- Choose the right seeds for your indoor winter seed starting to ensure successful growth.
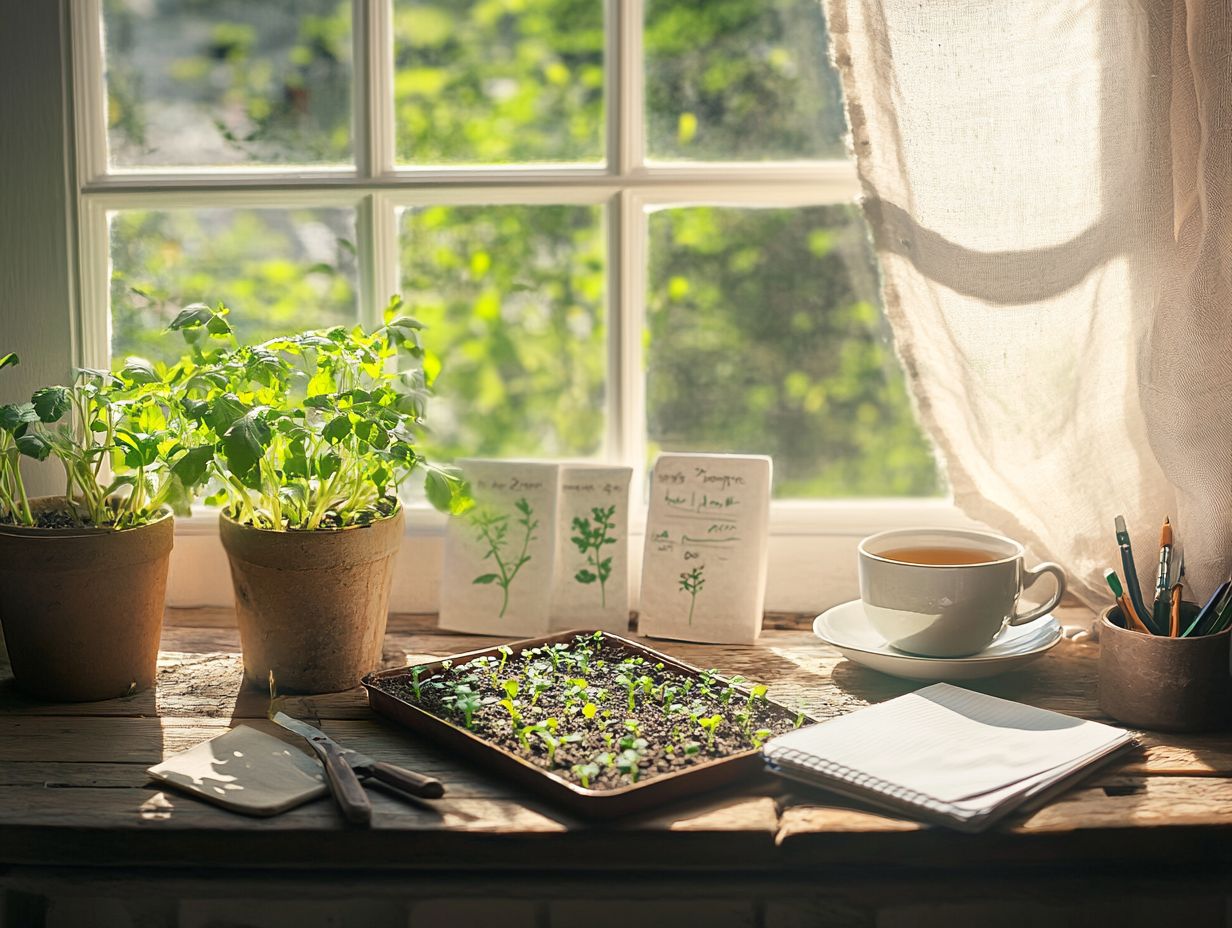
- Prepare your containers and soil to provide the perfect environment for your seedlings.
- Light and temperature are crucial for successful indoor seed starting during the winter months.
1. Start with the Right Seeds
Picking the right seeds is essential for a successful harvest. The choice of organic seeds, vegetable seeds, flower seeds, and hardy annuals can shape your growing experience.
Consider the varieties that thrive in your local climate and soil conditions. Each seed type has its own traits some may grow quickly, while others are resistant to pests or diseases.
Understanding heirloom, hybrid, and open-pollinated seeds helps you make informed choices that affect how well seeds grow and plant health. Starting seeds correctly under optimal light and temperature significantly increases your chances of success.
Choosing wisely and starting strong lays the foundation for a fruitful indoor gardening experience.
2. Prepare Your Containers and Soil
Preparing your containers and soil is crucial for seed germination. Ensure your seedling tray has moisture-retaining soil, adequate drainage holes, and the right supplies for healthy growth.
Choosing the ideal container is key; whether you opt for peat pots, cell trays, or biodegradable options, each has its benefits. High-quality seed-starting soil is vital, as it s specially formulated with the right texture and nutrients for robust root development.
To boost germination rates, cover your containers with a plastic dome or wrap. This creates a mini-greenhouse effect that locks in warmth and moisture. A drip tray beneath your containers helps manage excess water, preventing root rot and allowing you to monitor soil moisture easily.
With these techniques, your seedlings are poised for a thriving start.
3. Provide Adequate Light and Temperature
Providing sufficient light and temperature is crucial for your seedlings. Use LED grow lights or natural sunlight, complemented by a heat mat, to create a nurturing environment for your seeds.
Most seedlings flourish with about 12 to 16 hours of light daily, mimicking the natural daylight cycle. This consistent exposure encourages healthy growth and prevents leggy, weak plants reaching for light.
Monitoring the temperature is also crucial. A stable environment between 65 F and 75 F promotes vigorous seed germination. Regularly check these conditions and make adjustments raising or lowering lights and tweaking heat mats to meet the needs of various seed types. You ll create the perfect home for your seeds to thrive!
Get started today to unlock your indoor gardening potential!
4. Water and Fertilize Properly
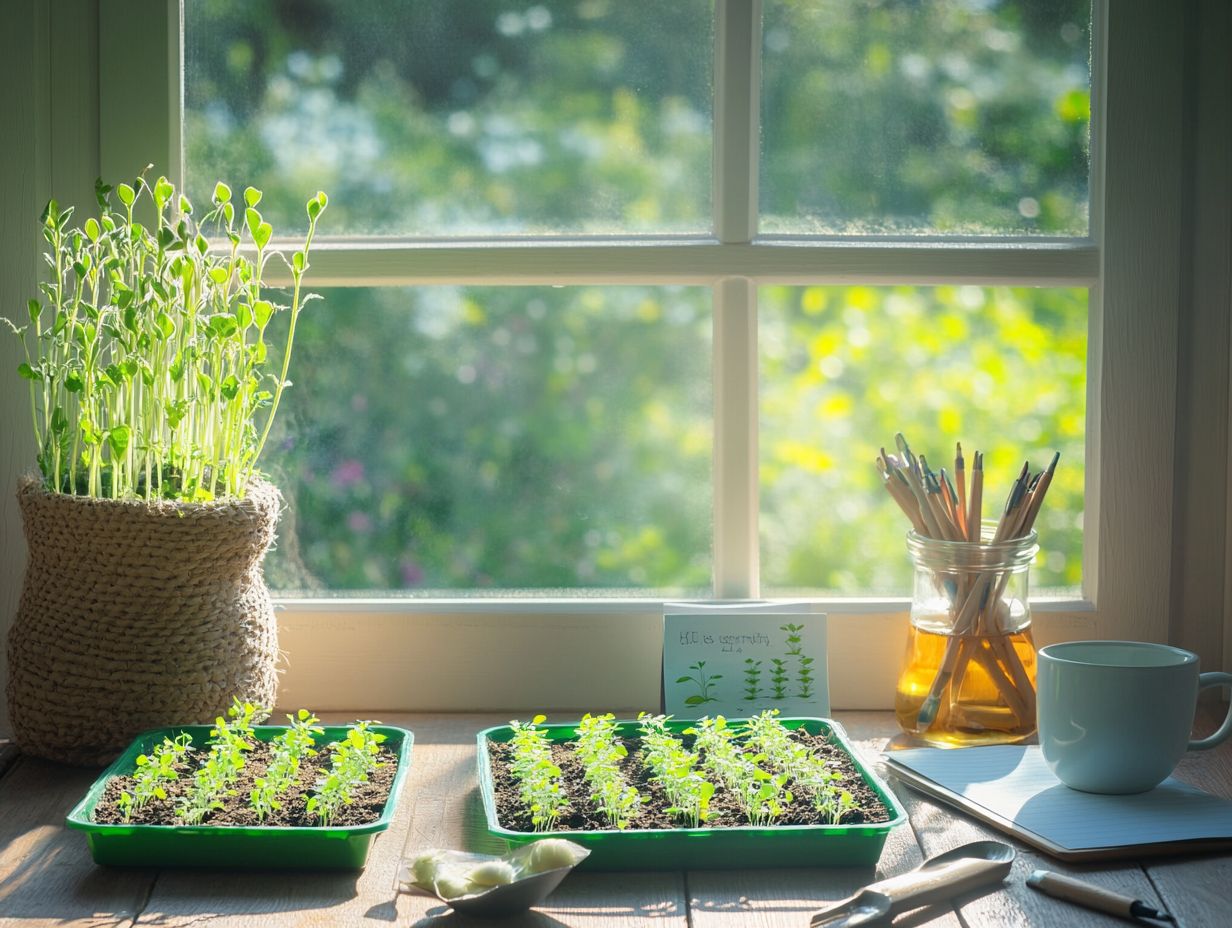
Effective watering and fertilizing are essential in caring for your seedlings. Establishing a consistent watering schedule with tools like a watering can or spray bottle will help you maintain proper moisture levels.
It’s crucial to understand the unique water requirements for different seed types. Some prefer drier conditions, while others thrive in consistently moist environments. Look for signs of overwatering like yellowing leaves and root rot or the telltale signs of underwatering, which include wilting and dry soil.
A practical tip is to check the top inch of soil; if it feels dry, it’s time to water. As your plants grow, introduce a balanced fertilizer to enhance development. Start this once your seedlings are established and showing signs of new growth.
5. Harden Off Your Seedlings Before Transplanting
Harden off your seedlings before transplanting them outdoors. This crucial step helps them adjust to the cold weather and fluctuating conditions, ensuring a smoother transition and boosting their resilience.
By gradually introducing your seedlings to outdoor elements, you re setting them up for success, whether you re a novice or an experienced gardener. Start by placing the seedlings outside in a sheltered spot for a few hours each day, making sure they re protected from direct sunlight and harsh winds.
Over the course of a week to ten days, increase both their exposure time and the intensity of sunlight they receive. Monitor temperature fluctuations and safeguard them during particularly cold nights.
For the best results, ensure the soil remains consistently moist but not waterlogged. Proper hydration is key to reducing stress from moving when they finally enter the garden.
When Is the Best Time to Start Seeds Indoors?
The ideal time to start seeds indoors depends on the types of plants you re looking to grow. Factors such as seed dormancy, your local climate, and your specific gardening techniques all play crucial roles in determining the perfect timing for helping seeds sprout better.
For example, many vegetable seeds should be started indoors about 6 to 8 weeks before the last expected frost date in your area. Herbs, on the other hand, might require a few extra weeks to develop robust growth before being transplanted outdoors.
Regarding flowers, certain varieties can be sown indoors as early as 10 weeks prior to the last frost, giving them a head start. Understanding your local climate conditions is key, as it allows you to predict the right moments for planting.
By tapping into local gardening resources, you can effectively synchronize your indoor planting schedule with changing seasons, paving the way for a flourishing garden come spring.
What Are the Benefits of Starting Seeds Indoors in Winter?
Starting seeds indoors during winter provides you with many advantages as a gardener. You benefit from an extended growing season, enhanced control over growing conditions, and improved germination rates for many seed varieties. To make the most of this process, consider using the top 7 seed starting kits for cold climates, setting the stage for a thriving garden come spring.
By embracing winter sowing, you can introduce hardy annuals and cool-season vegetables like kale and spinach earlier than traditional methods would allow. This gives your seedlings a head start as soon as the thaw kicks in!
To succeed, ensure you have enough light. Investing in grow lights can significantly boost seedling vigor during these dim months. Maintaining consistent moisture levels while steering clear of overwatering will keep your seedlings robust and thriving.
Consider selecting a mix of seed varieties that are well-suited for winter germination. Always keep an eye out for pests. This way, each plant has the best chance to flourish come planting time!
What Are the Common Mistakes to Avoid When Starting Seeds Indoors?
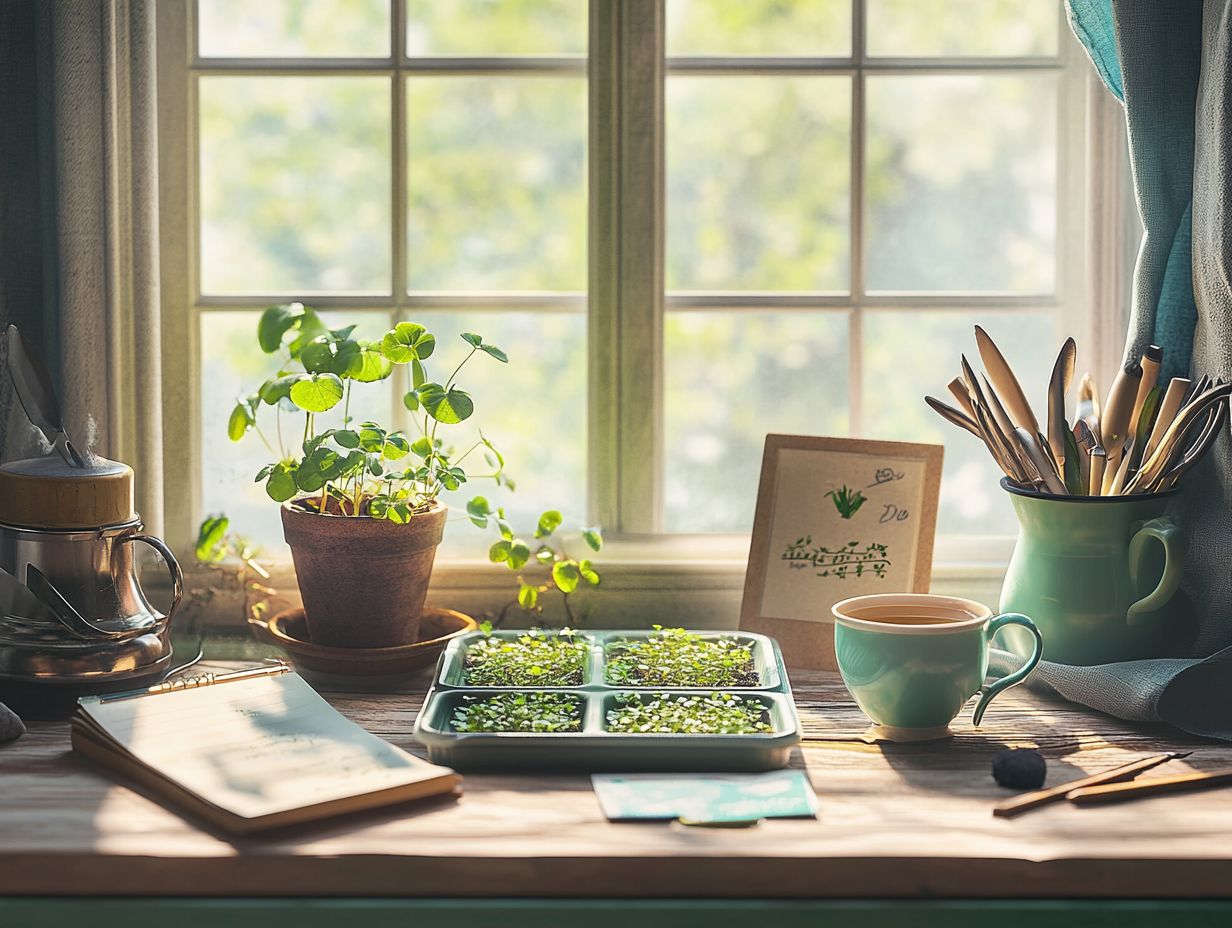
As you embark on the journey of starting seeds indoors, be mindful of common pitfalls that can arise, such as over or under-watering, using poor-quality soil, or neglecting proper light. To enhance your gardening efforts, consider following tips for sustainable winter gardening. These missteps can significantly hinder your seedling care and affect overall plant health.
To tackle these challenges effectively, it’s essential to choose a high-quality seed-starting mix that provides excellent drainage and aeration. Many new gardeners underestimate the importance of maintaining consistent moisture levels. Erratic watering can lead to weak seedlings or even seed rot.
Ensure your seedlings get plenty of light preferably from a grow light or a south-facing window to enhance their chances of thriving. If you encounter issues like slow germination or mold, examine temperature fluctuations and humidity levels to identify the necessary adjustments.
By remaining vigilant and fine-tuning these variables, you can cultivate an optimal environment for indoor seed starting and achieve successful seed germination, especially by following the top tips for planting in cold climates.
What Are the Different Methods for Starting Seeds Indoors?
There are numerous methods for starting seeds indoors, each employing specific seed-starting supplies and gardening techniques tailored to various plants and your preferences as a home gardener. Exploring 5 winter planting strategies for gardeners can enhance your sustainable gardening practices.
Seedling trays are popular because they allow you to grow many seedlings at once. They help with managing space and have drainage holes, but be careful not to overcrowd them.
Conversely, individual pots provide ample room for root growth of various seed varieties, which is advantageous for larger plants, but they take up more space in your setup.
For eco-friendly options, consider using recycled containers like yogurt cups or egg cartons. They are both budget-friendly and good for the environment, but ensure they have drainage holes.
By carefully considering these pros and cons, you can select the best method that aligns with your specific seed varieties and gardening style.
How Can One Create an Ideal Environment for Seed Starting Indoors?
Creating the perfect environment for starting seeds indoors requires a careful balance of light, temperature, and moisture levels. This balance nurtures optimal growing conditions for vegetable seeds like tomatoes and kale, promoting healthy seedling development in cold temperatures. For those interested in expanding their gardening skills, learning how to start your winter gardening early can be incredibly beneficial.
To achieve this, use high-quality LED grow lights or T12 fluorescents that deliver the right spectrum of light while being energy-efficient. Position these lights about 2-4 inches above your seedlings to keep them from becoming leggy and ensure they get enough light for at least 12-16 hours a day.
Maintaining a consistent temperature around 70-75 F (21-24 C) is key, as it speeds up germination and encourages vigorous growth. Monitor humidity levels; a humidity dome or heat mat can help retain moisture during early stages.
Check the soil moisture regularly to prevent issues before they start! Be cautious not to overwater, as this can lead to root rot. By following these straightforward yet effective strategies, you’ll significantly boost your chances of successful germination rates and help your seedlings thrive and flourish as hardy annuals during their crucial early growth phases.
Follow these simple strategies to boost your chances of germination and watch your seedlings thrive. A little care now will lead to a flourishing garden later!
What Are Some Tips for Transplanting Seedlings from Indoors to Outdoors?
Transplanting seedlings from indoors to outdoors requires careful planning. Follow these essential gardening tips to ensure successful outdoor planting and seedling care while minimizing transplant shock.
Timing is everything; ideally, this process should align with the last frost date and cold weather in your area, indicating that outdoor conditions are more favorable for your young plants. Before making the big move, it’s vital to gradually expose your seedlings to outdoor conditions for better survival. This gradual exposure over a week or two helps acclimate them and reduces stress.
As you prepare the outdoor planting site, make sure the soil is well-draining and rich in nutrients. Consider amending it with compost and organic matter for that extra boost. After transplanting, consistently water using a watering can and monitor for pests to encourage robust growth, allowing your plants to thrive.
Frequently Asked Questions
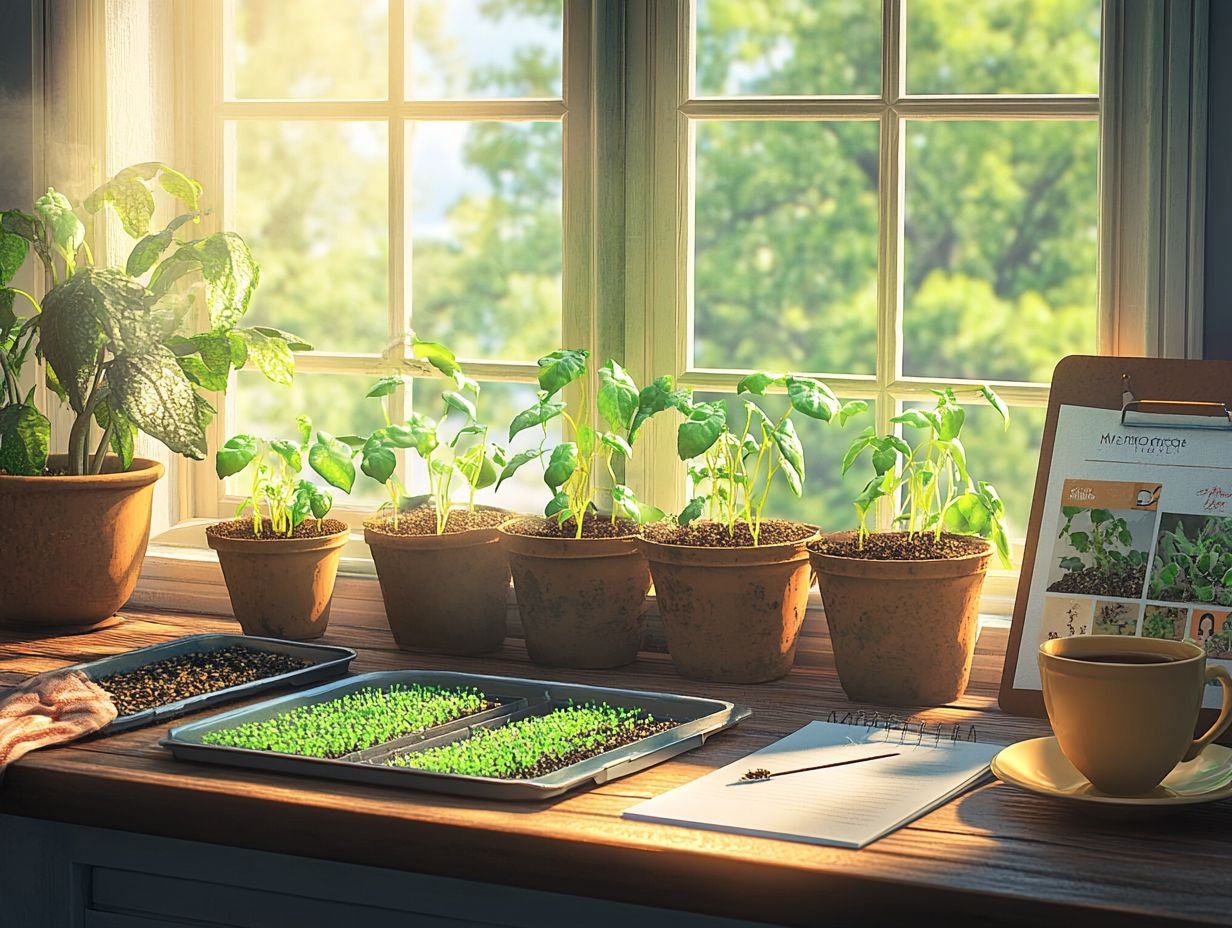
What Are the Benefits of Starting Seeds Indoors During the Winter?
Starting seeds indoors during the winter allows you to get a head start on your garden and extend your growing season. Additionally, learning how to start seeds indoors for cold climates gives you more control over the growing conditions and allows you to grow a wider variety of plants.
What Supplies Do I Need for Winter Seed Starting Indoors?
You will need seed starting trays or pots, a good quality potting mix, lighting (such as grow lights or a sunny windowsill), and seeds. For those interested in advanced techniques, tips for using greenhouses in winter gardening may also be beneficial, along with considering a seedling heat mat and a humidity dome for optimal growing conditions.
When Is the Best Time to Start Seeds Indoors During the Winter?
Start seeds 6-8 weeks before the last frost to give them the best chance! The exact timing will depend on your location and the specific seeds you are planting. Check the seed packet or plant labels or do some research to determine the best timing for your specific plants.
How Often Should I Water My Seeds When Starting Them Indoors During the Winter?
It’s important to keep the soil moist but not waterlogged. Check the moisture level daily and water as needed. Using a spray bottle to maintain moisture levels can help prevent over-watering and disturbing the seeds.
Do I Need to Fertilize My Seedlings When Starting Them Indoors During the Winter?
When using a good quality potting mix, you likely won’t need to fertilize your seedlings until they are ready to be transplanted into larger containers or your garden. If you do choose to fertilize, use a diluted solution and be cautious not to over-fertilize, as this can damage the delicate seedlings.
What Is the Best Place in My Home to Start Seeds Indoors During the Winter?
The best place to start seeds indoors during the winter is in a warm, well-lit room. If using grow lights, make sure they are positioned close enough to the seedlings to provide adequate light. Additionally, you may want to explore cold-weather indoor gardening tips and consider using a heat mat to provide bottom heat, which can help stimulate germination and growth.
Ready to get started? Gather your supplies and enjoy the rewarding journey of seed starting today!

