Top 10 Tips for Planting Cold-Weather Bulbs
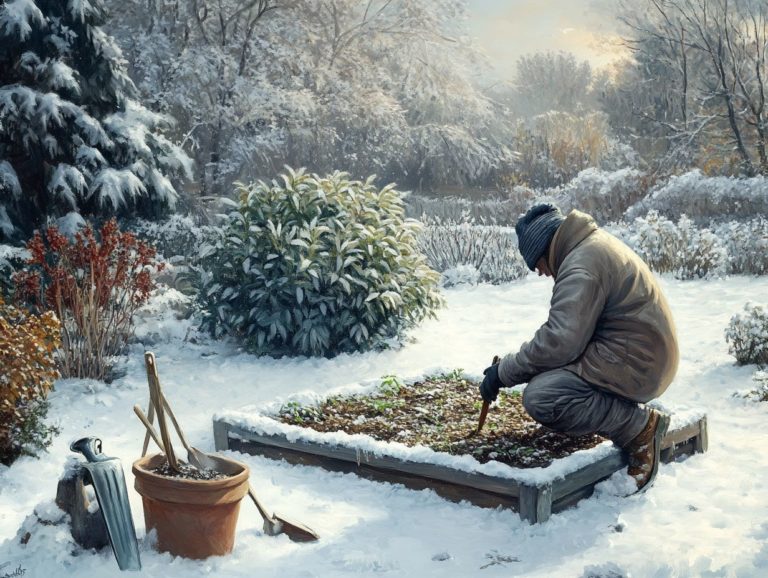
As winter s chill envelops the landscape, don t pack away your gardening tools just yet! Planting cold-weather bulbs can turn your garden into a vibrant canvas as spring bursts forth.
Whether you re a seasoned gardener or just dipping your toes into gardening, mastering the art of selecting, planting, and nurturing these resilient bulbs is crucial. This article presents the top 10 tips to help your cold-weather bulbs flourish, transforming your outdoor space into a stunning display when spring arrives.
Contents
- Key Takeaways:
- Top 10 Tips for Planting Cold-Weather Bulbs
- 1. Choose the Right Bulbs for Cold Weather
- 2. Prepare the Soil Properly
- 3. Plant at the Right Time
- 4. Plant in Groups
- 5. Plant at the Right Depth
- 6. Water Properly
- 7. Mulch for Protection
- 8. Protect from Animals
- 9. Fertilize Regularly
- 10. Cut Back on Watering in Winter
- 11. Prune Dead Foliage
- 12. Cover with a Layer of Straw
- 13. Do Not Overcrowd Bulbs
- 14. Protect from Frost
- 15. Monitor and Adjust as Needed
- Frequently Asked Questions
Key Takeaways:

- Choose cold-weather bulbs that are suitable for your climate to ensure successful growth and blooming.
- Properly preparing the soil, including adding compost or fertilizer, will provide a healthy foundation for your bulbs to thrive in.
- Plant bulbs at the right time before the ground freezes to allow enough time for root development before winter.
Top 10 Tips for Planting Cold-Weather Bulbs
Planting cold-weather bulbs can transform your garden beds into a vibrant showcase of spring color. This stunning display not only brightens your landscape but also promotes healthy plant growth.
Choosing high-quality bulbs is paramount. This decision profoundly influences the overall success of your garden. In cooler climates, you ll find that bulbs like tulips and daffodils thrive, adding both variety and resilience to your floral arrangements.
Soil preparation is essential. Ensure it’s well-drained while still retaining moisture to support robust growth. Experts like Joseph Tychonievich stress the importance of optimal conditions, suggesting you test your soil’s pH and incorporate organic matter.
Proper planting depth and spacing also play a crucial role in achieving vigorous blooms. These factors allow your chosen bulbs to flourish as they greet the warmth of spring.
1. Choose the Right Bulbs for Cold Weather
Choosing the right bulbs for cold weather is essential for crafting a stunning garden. Opt for resilient and beautiful varieties like tulips, daffodils, and hyacinths. These bulbs not only brighten the dreary winter landscape but also add unique characteristics to your garden with their rich colors and striking forms.
Take tulips, for example. They come in a dazzling array of colors and bloom patterns, making them perennial favorites for spring displays. Daffodils are a wise choice too; they have a remarkable ability to multiply year after year, providing you with reliable returns on your investment. And let s not forget hyacinths, whose delightful fragrance adds an extra sensory experience to your garden.
When selecting bulbs, always look for firm, plump specimens free from mold or soft spots to ensure healthy growth. A good rule of thumb is to choose larger bulbs, as they often lead to more robust plants, giving you the lush garden you desire.
2. Prepare the Soil Properly
Proper soil preparation is essential for planting bulbs. Healthy bulbs thrive in well-drained soil enriched with organic matter, fostering optimal growth and vibrant flowering.
Achieving the right soil quality is vital. It allows for adequate aeration and moisture retention, both of which are crucial for bulb health. Start by assessing your existing soil. Dig a small hole to evaluate its texture and drainage capabilities. If you notice compacted soil or standing water, it s time to make some amendments.
Begin with a generous layer of organic matter, such as compost or well-rotted manure. This not only enhances the soil structure but also provides essential nutrients. Mix that organic material thoroughly into the top 12 inches of soil.
If you re dealing with heavier clay soils, consider adding coarse sand or perlite to boost drainage even further. After that, test the pH to ensure it meets the requirements for the specific bulb types you plan to grow.
By optimizing these conditions, you ll create a fertile environment where your bulbs can truly flourish.
3. Plant at the Right Time
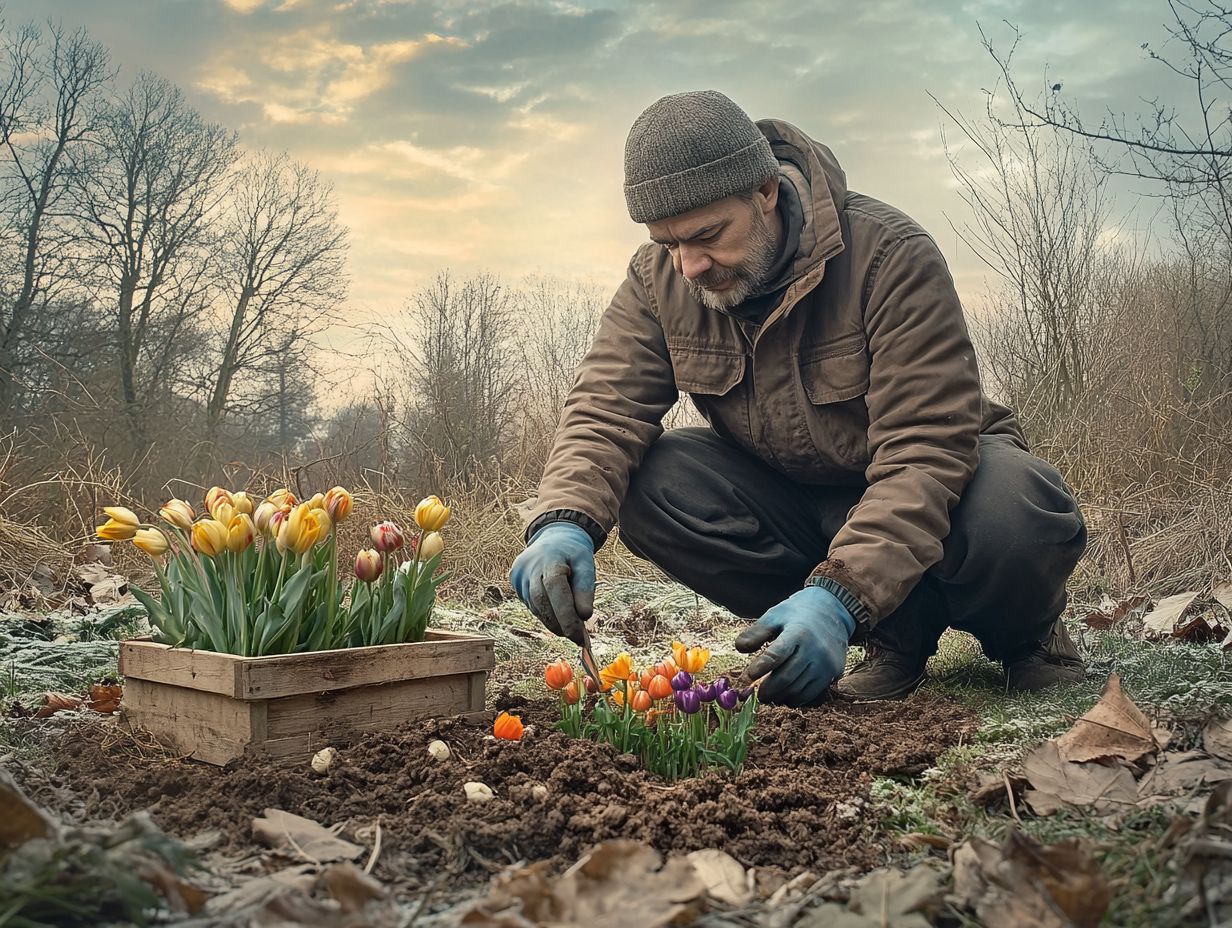
Timing is everything when it comes to planting bulbs. Fall flower bulbs need to be planted at just the right moment to guarantee a breathtaking display of spring blooms the following year.
Typically, the sweet spot for planting these cold-weather bulbs falls between September and November. During this time, the soil is still warm enough to foster root development before frost sets in. Soil temperature is crucial for bulb vitality; they flourish in temperatures around 50 F, which allows them to establish robust roots as winter approaches.
Consider your local climate conditions as well. If you live in a milder area, you might plant earlier. Those in colder regions should wait until conditions are more favorable. To pinpoint the optimal planting window, check the soil temperature and watch local weather patterns. This will ensure that your bulbs are primed to thrive come spring.
4. Plant in Groups
Planting bulbs in groups transforms your garden into a stunning visual feast. This not only amplifies their beauty but also nurtures a natural look with perennial bulbs that return year after year.
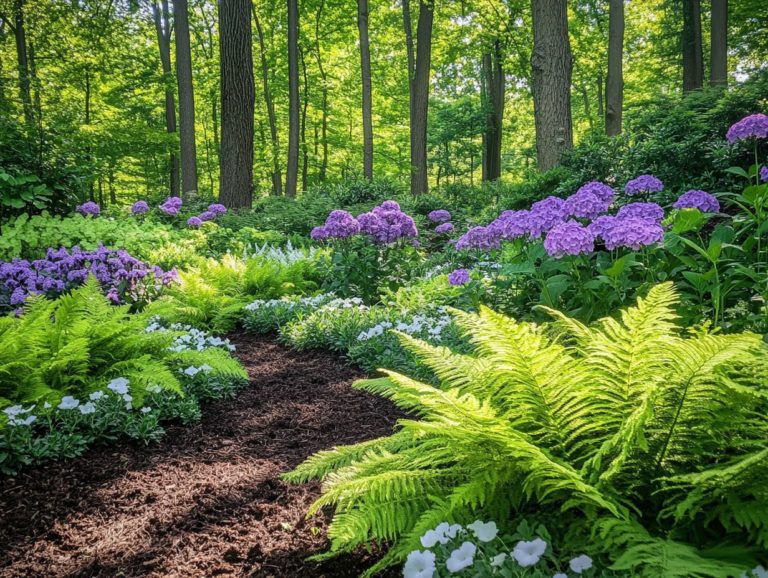
When you arrange these groupings with intention, they harmonize beautifully with the landscape. This draws the eye to specific areas while enhancing the overall cohesion of the space. For example, clusters of tulips in bold colors can serve as striking focal points, while softer hues of daffodils create calming borders.
Intermingling different species introduces delightful variety in heights and textures. This allows your garden to flourish with dynamic growth patterns. Thoughtful arrangements not only invigorate the space but also attract beneficial pollinators, creating a lively ecosystem that beautifully complements the blooms.
5. Plant at the Right Depth
Planting bulbs at the correct depth is crucial for their development. Position larger bulbs properly, with the pointy side facing up, to ensure they flourish and bloom beautifully.
For the best results, aim to plant larger bulbs about six to eight inches deep. Smaller varieties typically thrive when planted around three to four inches. This depth protects bulbs from temperature extremes and ensures they receive the right amount of moisture without becoming waterlogged.
When measuring the planting hole, grab a trowel or bulb planter and dig wide enough to accommodate the bulb’s size. This allows for adequate root expansion. Incorporating organic matter at the bottom of the hole provides essential nutrients for a strong start in their growth cycle.
6. Water Properly
Proper watering is essential for the health of your bulbs. Ensuring they receive adequate moisture during their growth phase protects your investment and fosters vibrant, healthy bulbs.
Establishing a consistent watering schedule is key. This helps regulate moisture levels and prevents unnecessary stress on your plants. Be mindful overwatering can lead to root rot and yellowing leaves, which are clear signs that your bulbs are drowning. On the flip side, underwatering might leave them wilting and stunted.
To maintain optimal moisture levels, consider using drip irrigation or soaker hoses, which allow for slow, deep watering. Pay attention to weather conditions and apply mulch to help retain soil moisture. This will make it easier for your bulbs to thrive throughout their growing season.
Ready to transform your garden into a stunning visual feast? Get started on your bulb planting today for a beautiful spring!
7. Mulch for Protection

Mulching your planted bulbs is essential for providing protection during winter. It helps to overwinter tender bulbs and ensures a successful spring bloom, safeguarding your investment.
Choosing the right type of mulch is vital for the health of your bulbs. Options like shredded leaves, straw, and wood chips insulate the ground and control weeds.
When applying mulch, aim for a layer about three to four inches thick around the bulbs. Make sure not to suffocate them. Keeping this layer intact throughout the seasons allows for better soil moisture retention and temperature regulation, creating a stable environment for your delicate plants to flourish.
As the mulch decomposes, it enriches the soil with valuable nutrients, further enhancing growth potential.
8. Protect from Animals
Protect your bulbs from hungry animals to keep your garden thriving! Ensuring that your planting bulbs thrive means your garden remains a stunning spectacle throughout the blooming season.
You can use different strategies to protect your plants that not only deter unwanted visitors but also encourage a lush and vibrant garden.
- Selecting deer-resistant bulbs is a practical first step. Varieties such as daffodils, tulips, and alliums are known for their potent scents that deer tend to shun.
- Incorporating physical barriers, such as fencing or netting, can create a strong barrier against those curious nibblers.
- Employing natural repellents, like human hair or cayenne pepper, can further strengthen your defense against pests that might disturb your garden beds.
- Staying vigilant and observing signs of animal damage, such as chewed leaves or disturbed bulbs, is crucial. Timely intervention can significantly impact your garden’s health.
9. Fertilize Regularly
Regular fertilization is essential for nurturing healthy bulbs. It replenishes the nutrients in the soil and fosters robust growth and blooming. Understanding the specific needs of various bulb types allows you to provide the right nutrients at the ideal time.
For example, slow-release granular fertilizers which release nutrients slowly over time rich in phosphorus and potassium, can be particularly effective during the growing season. Especially when paired with well-drained soil, these elements promote strong root development and abundant flowering. Organic options like compost or well-rotted manure also offer a balanced nutrient source, enhancing soil structure and health.
It s advisable to apply fertilizers in early spring, just as your bulbs start to emerge, and again after flowering to replenish nutrients for the following year s growth, particularly for your big bulbs.
10. Cut Back on Watering in Winter
As winter approaches, it s crucial to cut back on watering to prevent bulb rot. This ensures your healthy bulbs can enjoy a successful dormancy period.
During this season, less sunlight and cooler temperatures slow down plant growth, significantly reducing their water needs. To determine if it’s time to cut back, check the moisture level of the soil with your finger. Ensure that the soil remains rich in organic matter. By inserting your finger about an inch deep, you’ll gain valuable insight into whether the ground remains damp or has dried out.
Watch for telltale signs, such as yellowing leaves or mold around the bulbs, as these indicate that excess moisture could be harmful to your perennial bulbs. By paying attention to these cues, you can make more informed watering decisions, ultimately promoting healthier bulbs throughout the winter months.
11. Prune Dead Foliage
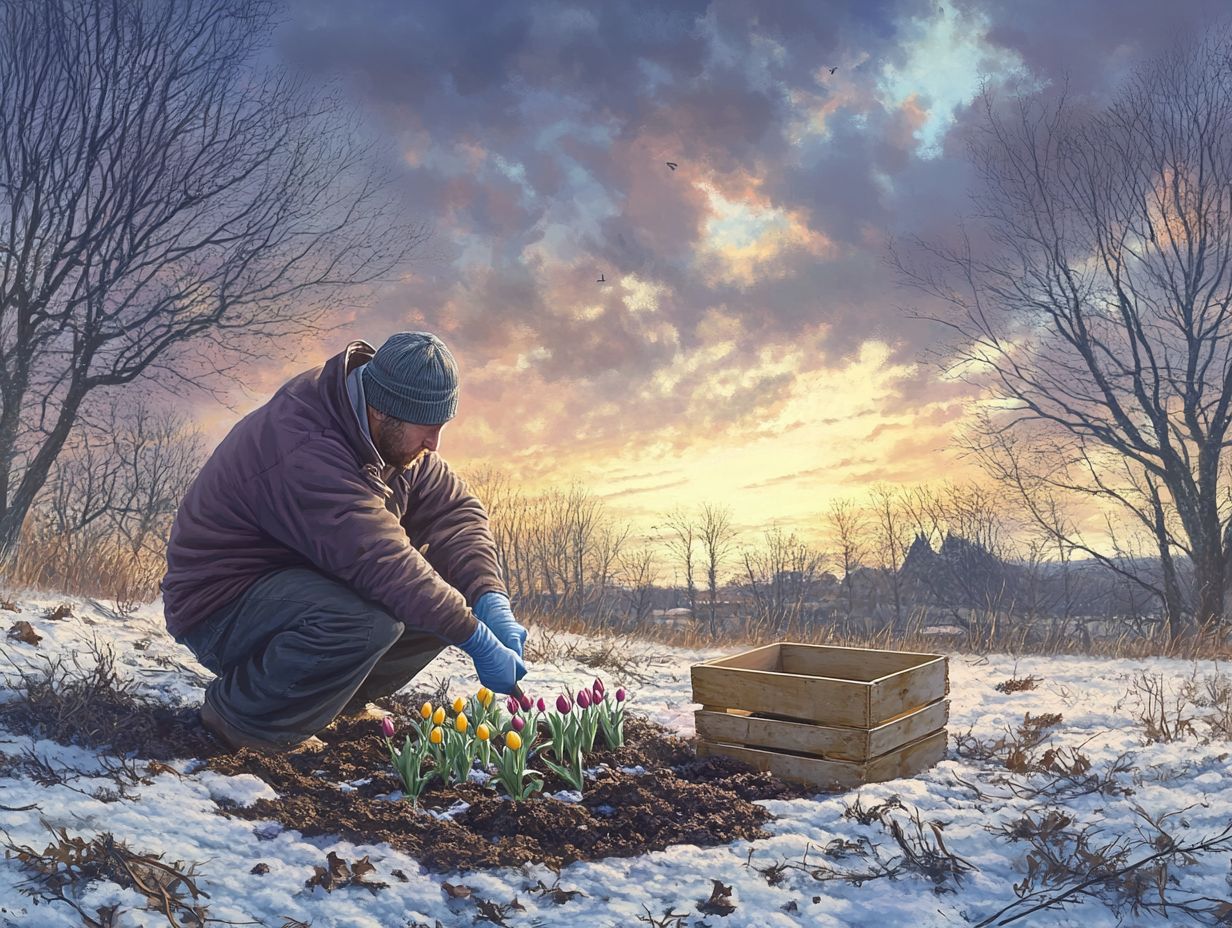
Pruning dead foliage boosts your garden’s beauty and helps your bulbs store energy for next year.
Evaluate which plants need pruning to ensure they stay strong. Use clean, sharp tools for precise cuts, minimizing harm to the plant.
Timing is key. Prune after the flowers fade but while the leaves are still healthy. This lets bulbs store important nutrients for next season.
Incorporating these best practices can greatly improve your garden’s appearance while protecting the bulbs that will bring vibrant life each season.
12. Cover with a Layer of Straw
Cover your bulbs with straw in winter for essential insulation and protection. This easy trick keeps your bulbs cozy, so they thrive come spring.
Spread 2 to 4 inches of straw around the bulbs, avoiding direct contact to prevent moisture buildup and potential mold growth.
As spring approaches, remove the straw promptly don t wait! when the risk of frost has passed. This encourages healthy growth and prevents any hindrance that could stifle their budding vitality.
13. Do Not Overcrowd Bulbs
Leave space when planting bulbs. Each one needs room to grow for a vibrant display.
Take time to consider the specific spacing recommendations for different types of bulbs. Larger bulbs like tulips should be 6 to 8 inches apart; smaller ones like crocuses can be 3 to 4 inches apart.
Overcrowding restricts airflow and depletes soil nutrients, leading to stunted growth. Careful planning is key. Sketch a layout to visualize the arrangement, ensuring each bulb receives the sunlight and moisture it needs for a healthy garden.
14. Protect from Frost
Protect your bulbs from frost to keep them healthy, especially the spring bloomers. Sudden temperature drops can harm delicate sprouts and disrupt blooming.
Watch the weather closely and be ready to cover your bulbs with burlap or frost cloths before it gets cold. Aim to drape coverings over your bulbs in the late afternoon, just before temperatures begin to fall.
To enhance protection, use stakes to prop up your materials, especially around naturalizing bulbs. This allows better airflow and prevents moisture buildup that could lead to frost damage.
15. Monitor and Adjust as Needed
Regularly monitoring your bulbs and adjusting care is key to keeping them healthy and thriving. This is important for creating conditions that support quality bulbs.
Watch for signs like wilting leaves, stunted growth, or discolored blooms. These can indicate problems such as too much water or lack of nutrients.
Simple adjustments to your watering and fertilizer can make a big difference. Act quickly to address these signs!
Use well-draining soil and ensure your bulbs get enough light. Planting in groups creates a stunning visual impact.
By taking a proactive approach, you foster a thriving environment. This leads to a flourishing garden filled with vibrant flowers like gladiolus and Calla.
Frequently Asked Questions
What are the top 10 tips for planting cold-weather bulbs?
1. Choose the right bulbs: Look for cold-weather bulbs like daffodils, tulips, and hyacinths. For more guidance, check out these top tips for selecting cold-hardy plants. Ensure they are planted with their pointy side up.
2. Prepare the soil: Make sure the soil drains well and has enough organic matter to nourish the bulbs.
3. Choose a sunny spot: Cold-weather bulbs need at least 6 hours of sunlight to bloom. Pick a sunny area in your garden.
4. Plant at the right time: Plant your bulbs in late fall or early winter, when the ground is cool but not frozen.
5. Dig the right depth: Plant bulbs three times deeper than their size. For instance, a 2-inch bulb should be planted 6 inches deep.
6. Space them correctly: Leave 2-3 inches between bulbs for proper growth and air circulation.
7. Water after planting: Give your bulbs a good watering to help them settle in.
8. Mulch the area: Add a layer of mulch to insulate and protect them from extreme cold.
9. Protect from pests: Use wire mesh or netting to keep squirrels and other pests away from your bulbs.
10. Monitor and maintain: Check your bulbs throughout the winter. Ensure the soil doesn’t dry out; water if needed, and remove any weeds.

